How to add authentication or registration system in Django Blog part 2
Registration and login is most commonly used functionality to secure data. With registration or authentication system you will know who are using your blog or website.
In this blog post we are going to implement Registration and Login functionality in the Blog that we have made in the first tutorial
In case, if you haven’t read the first post about How you can make a blog in Django
Follow this link to read that article to know more about that first tutorial.
👉 How to create a basic blog in django
Requirements:
- Clone the repository from Github to follow along with this tutorial 👉 https://github.com/imanaspaul/django-blog-basic
- Any code editor installed in your system. I recommend VS code or Sublime Text 2
- Python 3.6 installed in your system
For adding authentication system, In that case django comes so handy, because has some builtin functions which handles registration and login system in a django project.
To complete this tutorial we are going through few steps. Just follow along with this blog post and after that you will going to learn how you can implement Authentication System in your any Django website. So let’s start this tutorial with the first step.
1. Setup the project directory
After clone the repository from the github link change the directory to the project directory. Then activate a virtual environment to the same directory. After that just install all the requirements from the requirements.txt file and run the server.
This following commands will help you complete the first step.
git clone  https://github.com/imanaspaul/django-blog-basic
cd django-blog-basic
pipenv shell
pipenv install -r requirements.txt
python manage.py runserver
After everything is setup, the website will run the port 8000 on your local server. After that we can proceed to the next step.
2. Create the Register View first
After clearing all the steps mentioned above, Open the project folder. in our case it’s called Blog, and create a new file called views.py. In views .py we are going to write some logic for the login and Registration in our django blog.
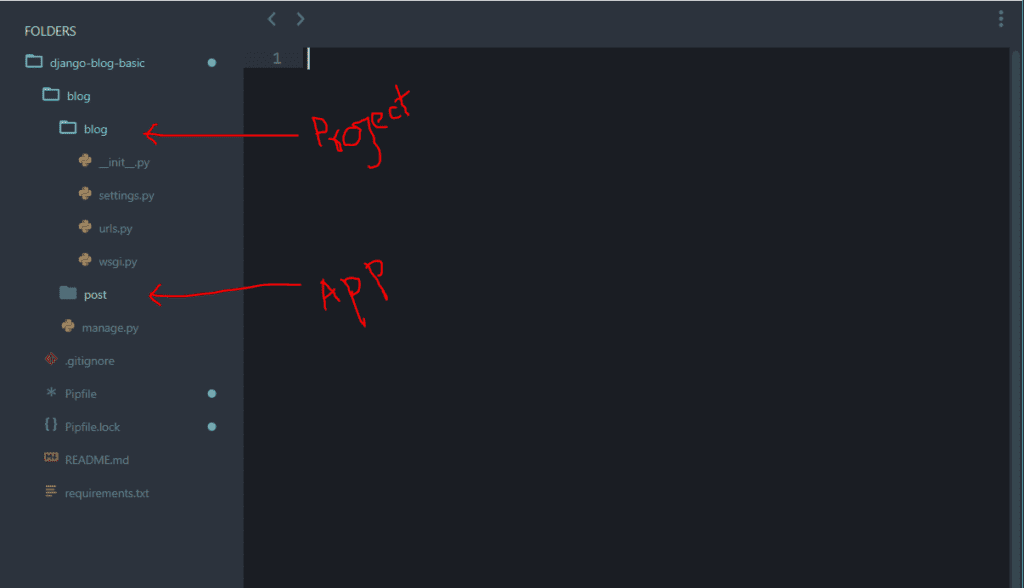 Folder structure | Manascode.com
Open the views.py file that you have just created and write the first views called Register. In that case now we are going to use Django Function Based views. So create a function called register.
Folder structure | Manascode.com
Open the views.py file that you have just created and write the first views called Register. In that case now we are going to use Django Function Based views. So create a function called register.
from django.shortcuts import render


# Registration views using FBV

def register(request):


	render(request, 'signup.html')
Now we need to map the url in the urls.py file in our project folder. So open the urls.py file and paste or write this codes.
from django.contrib import admin
from django.urls import path, include
from . views import register

urlpatterns = [
	path('', include('post.urls')),
	# Register url
	path('register/', register, name="register"),
    path('admin/', admin.site.urls),
]
Save all the files that you have edited and let’s run the server and navigate to the register url. The url should be something look like this <http://127.0.0.1:8000/register/> .

After opening this url you should get an error, which says signup.html does not exists. To fix that we need to create a signup.html file in our Project directory ( I will get this part in next step for now you can skip this part ) and tell Django where is the signup.html file path.
settings.py file
TEMPLATES = [
    {
        'BACKEND': 'django.template.backends.django.DjangoTemplates',
        'DIRS': [os.path.join(BASE_DIR, 'templates')],  # Template directory
        'APP_DIRS': True,
        'OPTIONS': {
            'context_processors': [
                'django.template.context_processors.debug',
                'django.template.context_processors.request',
                'django.contrib.auth.context_processors.auth',
                'django.contrib.messages.context_processors.messages',
            ],
        },
    },
]
3. Sign up view
In the signup view we are going to use Django’s built in user creation form so we don’t have to create the form in the html and also not have to worried about other code as well.
So first in the views.py file first import Login function, Authenticate function and of course the UserCreationForm. So in view.py file import this things first.
from django.contrib.auth import login, authenticate
from django.contrib.auth.forms import UserCreationForm
Now in the register view function we are going to write some logic to handle the register view. So in register function write this lines of code and in the below I am going to explain what this lines of code does.
from django.contrib.auth import login, authenticate
from django.contrib.auth.forms import UserCreationForm
from django.shortcuts import render


# Registration views using FBV

def register(request):
    if request.method == 'POST':

    	# Assigning the User Creation form with the Post request object to form variable
        form = UserCreationForm(request.POST)
        if form.is_valid():
            # Save the user
            form.save()
            # Getting the values from the form
            username = form.cleaned_data.get('username')
            raw_password = form.cleaned_data.get('password1')
            # Authenticate user using the authenticate method
            user = authenticate(username=username, password=raw_password)

            # After Successfully Authenticated then use login function to login the user

            login(request, user)
            return redirect('/')
    else:
        form = UserCreationForm()
    return render(request, 'signup.html', {'form': form})
In this lines of codes, first we are assigning the UserCreationForm to form variable with the request object if the request method type is post otherwise we are just passing the form only without the request object.
On form.save() we are just creating the user and saving it to the database as like we do usually for any kind of modelForm.
Then we are getting all the values using form.cleaned_data.get(‘username’) method and storing them in a variable. Now we need to authenticate the user using the authenticate function that we have imported on the top of the view.py file.
After authentication completed now we need to use the login function to let the user login in our website. After successfully done all the method we are redirecting the user to home page.
And at the end of the view we are rendering the signup.html page with the form context
4. Creating the sigup.html file
In the project folder create a new folder called templates and in the templates folder create a html file named signup.html.
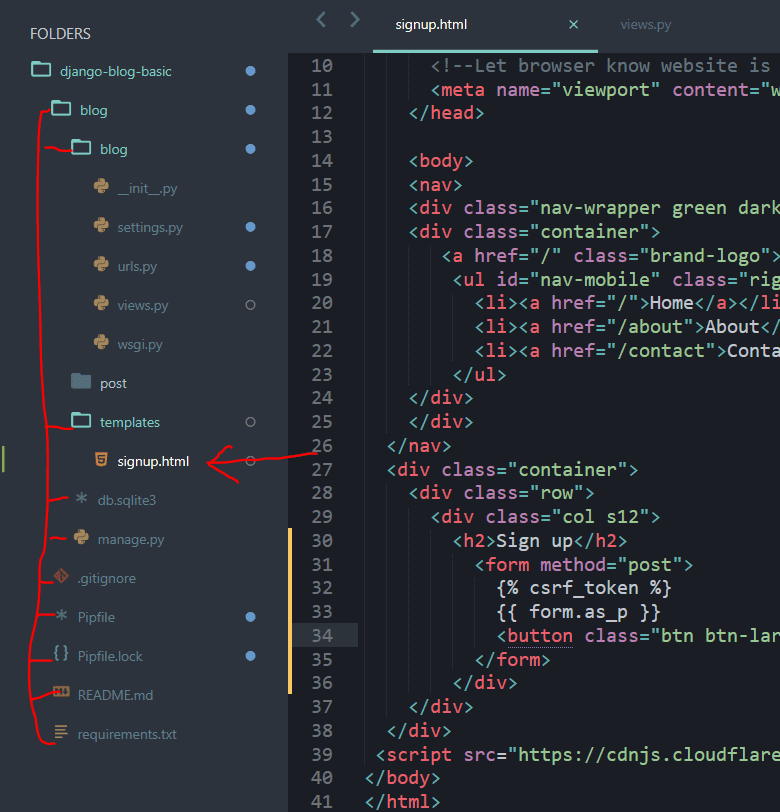 Create templates folder and signup.html file
After creating the signup.html file paste this lines of code in the html file.
Create templates folder and signup.html file
After creating the signup.html file paste this lines of code in the html file.
<html>
<head>
<!--Import Google Icon Font-->
<link href="https://fonts.googleapis.com/icon?family=Material+Icons" rel="stylesheet">
<!-- Compiled and minified CSS -->
<link rel="stylesheet" href="https://cdnjs.cloudflare.com/ajax/libs/materialize/1.0.0/css/materialize.min.css">
<!--Let browser know website is optimized for mobile-->
<meta name="viewport" content="width=device-width, initial-scale=1.0"/>
</head>
<body>
<nav>
<div class="nav-wrapper green darken-4">
<div class="container">
<a href="/" class="brand-logo">Blog</a>
<ul id="nav-mobile" class="right hide-on-med-and-down">
<li><a href="/">Home</a></li>
<li><a href="/about">About</a></li>
<li><a href="/contact">Contact</a></li>
</ul>
</div>
</div>
</nav>
<div class="container">
<div class="row">
<div class="col s12">
<h2>Sign up</h2>
<form method="post">
{% csrf_token %}
{{ form.as_p }}
<button class="btn btn-large" type="submit">Sign up</button>
</form>
</div>
</div>
</div>
<script src="https://cdnjs.cloudflare.com/ajax/libs/materialize/1.0.0/js/materialize.min.js"></script>
</body>
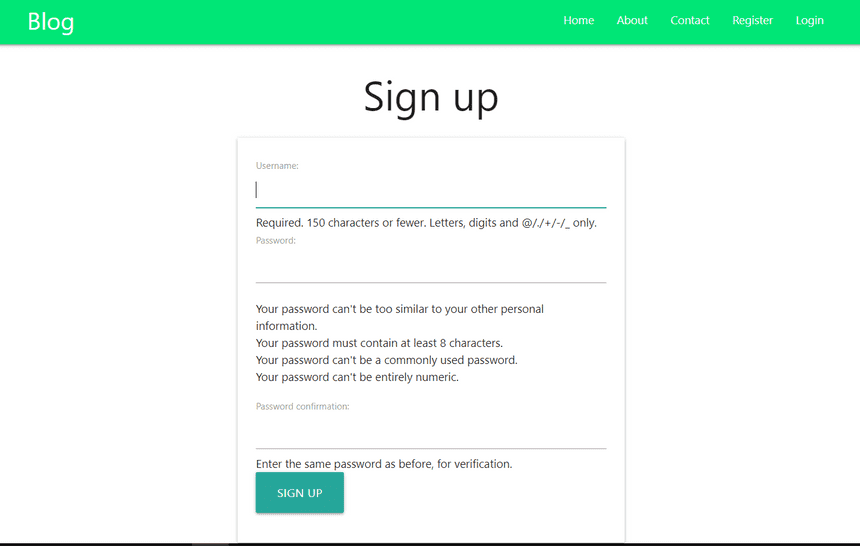
</html>Now save all the file and run the server if the server is not loaded. Open the register url now you will see something look like this.
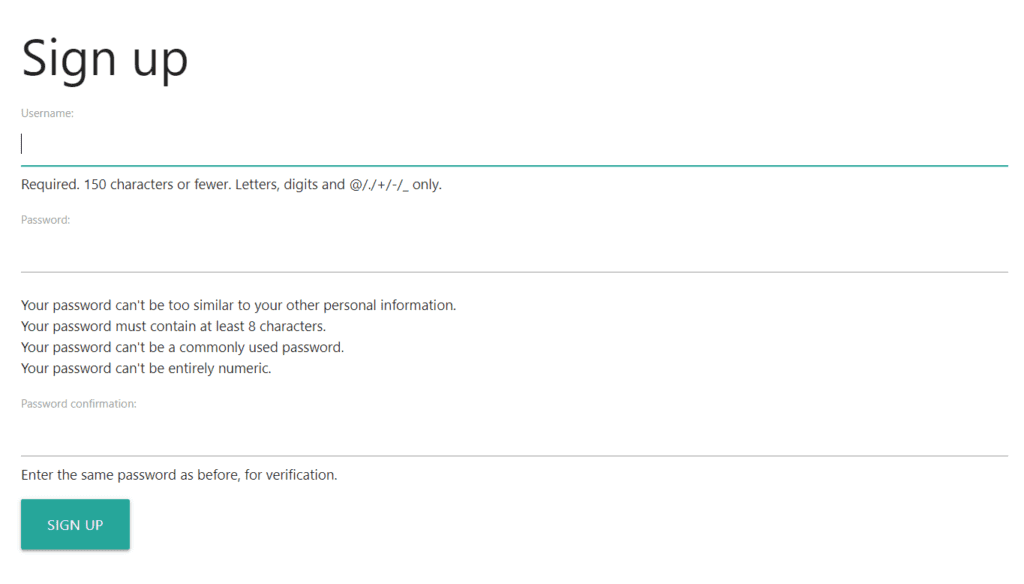 Registration view
BOOM 😲🎆🎇 Now we have the sign up page ready. You can just fill the details and click sing up button to test the Registration function we wrote in the step 3.
After you submit you will see and error on the page that says ‘name ‘redirect’ is not defined’. Basically I used the redirect method in the register view but forget to import. So now we just need to import the redirect method on the top of the view.py file.
# From shortcuts import redirect
from django.shortcuts import render, redirect
Now to the admin dashboard and check if there is a new user created or not.
If you don’t have a superuser account or don’t know how to create a super user then you can follow our first post where we clearly wrote how you can create a super user in Django.
If everything write correctly you will see that a new user has created in your website. So now we can go the next step where we will be creating the login page for let the existing user to login instead of go to the register page and register again to access the website.
5. Create login functionality in Django
After creating the registration functionality in our website we need to have a login page where registered user can login and use our application. For the login view we will going to use Django’s build in method LoginView.
So first open the urls.py file of your project directory and write this lines of codes to map the login url in our website.
from django.contrib import admin
from django.urls import path, include
from . views import register
# Importing built in views
from django.contrib.auth import views as auth_view

urlpatterns = [
	path('', include('post.urls')),
	#Login
	path('login/', auth_view.LoginView.as_view(), name='login'),

	# Register url
	path('register/', register, name="register"),
    path('admin/', admin.site.urls),
]
In this lines of code first we have import the LoginView from Django and then write a new path that navigate to login page and call the LoginView method.
LoginView is a class based view so that’s why we are using as_view() method.
Now create a folder in the templates folder and name it as ‘registration‘, then create a HTML file in the registration folder and name it login.html.
What we doing here is , we are just overwriting Django‘s premade login.html file in the templates directory . After creating the html file now paste this lines of codes to create the login form.
{% if form.errors %}
<p>Your username and password didn't match. Please try again.</p>
{% endif %}


<h1>Login</h1>
  <form method="post">
    {% csrf_token %}
    {{ form.as_p }}
    <button type="submit">Login</button>
</form>
Now run the server and navigate to the login url and fill all the correct user details and click login. ( If you use wrong credentials then it will show up a message. And after successfully login it will redirect you to success url. In case by default it redirect you to “accounts/profile”. but if you want to change the success url then you just need to specify the LOGIN_REDIRECT_URL in anywhere in the settings.py file.
LOGIN_REDIRECT_URL = "/" # we are redirecting to the home after successfully login6. Logout view in Django
The most easiest thing in Django is to create a logout view. To create a logout view you can write a view for that but better is to use the default logout method which Django provides us.
But before we go through the process we need add the Register, Login and Logout in the menu or navigation on our website. So to do that we are going to create a new html file called base.html in the post app template directory. You can create the base.html in the outside templates directory.
We are going to use some logic like, if the user is authenticated then show the logout otherwise show the register and login.
<html>

<head>
    <!--Import Google Icon Font-->
    <link href="https://fonts.googleapis.com/icon?family=Material+Icons" rel="stylesheet">

    <!-- Compiled and minified CSS -->
    <link rel="stylesheet" href="https://cdnjs.cloudflare.com/ajax/libs/materialize/1.0.0/css/materialize.min.css">
    <!--Let browser know website is optimized for mobile-->
    <meta name="viewport" content="width=device-width, initial-scale=1.0" />
</head>

<body>
    <nav>
        <div class="nav-wrapper green accent-3">
            <div class="container">
                <a href="/" class="brand-logo">Blog</a>
                <ul id="nav-mobile" class="right hide-on-med-and-down">
                    <li><a href="/">Home</a></li>
                    <li><a href="/about">About</a></li>
                    <li><a href="/contact">Contact</a></li>
                    {% if request.user.is_authenticated %}
                    <li><a href="/logout">Logout</a></li>

                    {% else %}
                     <li><a href="/register">Register</a></li>
                     <li><a href="/login">Login</a></li>
                    {% endif %}
                </ul>
            </div>
        </div>
    </nav>

    {% block content %} {% endblock %}
    <!--JavaScript at end of body for optimized loading-->
    <script src="https://cdnjs.cloudflare.com/ajax/libs/materialize/1.0.0/js/materialize.min.js"></script>
</body>

</html>
Now extends the base.html to all the html files that we have created in the previous steps. After all that we will see Logout if we are logged in. If we are not then we will see the Login or Register in the menu.
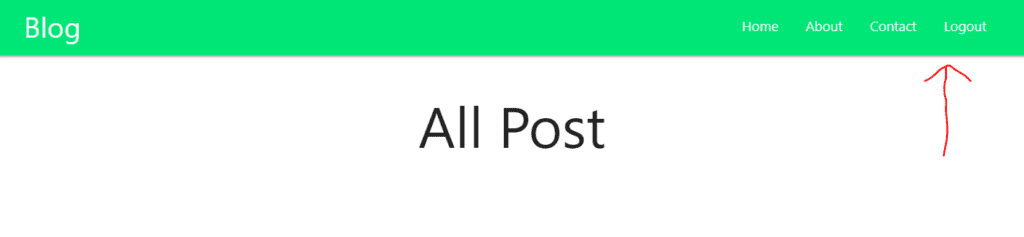 Logical Login, Register, Logout
But now if you click on the logout it will do nothing. So now we need to add the Logout function to the urls.py file as I did for the Login url.
Just after the Login url write a new path for logout and use the builtin method LogoutView to get the logout functionality. The code will look like this.
from django.contrib import admin
from django.urls import path, include
from . views import register
# Importing built in views
from django.contrib.auth import views as auth_view

urlpatterns = [
	path('', include('post.urls')),
	# Login
	path('login/', auth_view.LoginView.as_view(), name='login'),
	# Logout
	path('logout/', auth_view.LogoutView.as_view(), name='logout'),
	# Register url
	path('register/', register, name="register"),
    path('admin/', admin.site.urls),
]Thank you for reading the post. If anything I missed in the post please let me know in the comment, because I am also learning and sharing my knowledge through this blog.